Cluster management
Warning
This section describes how to view and manage nodes in embedded clusters.
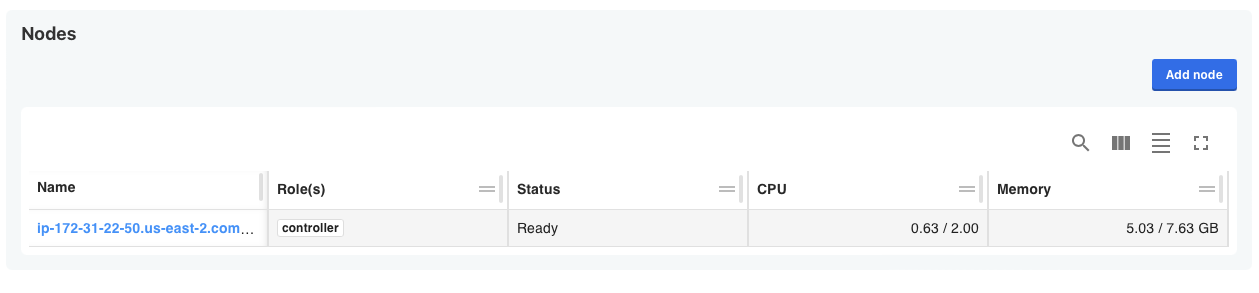
Cluster overview
This screen lists all nodes currently in the cluster, along with the assigned role, status of the node, and current CPU and memory utilization.
Roles
Roles are used for multi-node clusters to define what and how workloads scale across different deployment models. One or more roles can be selected and assigned to a node when it’s joined to the cluster. For example, a role can be used to determine which nodes run the Kubernetes control plane or to assign application workloads (such as a database) to particular nodes.
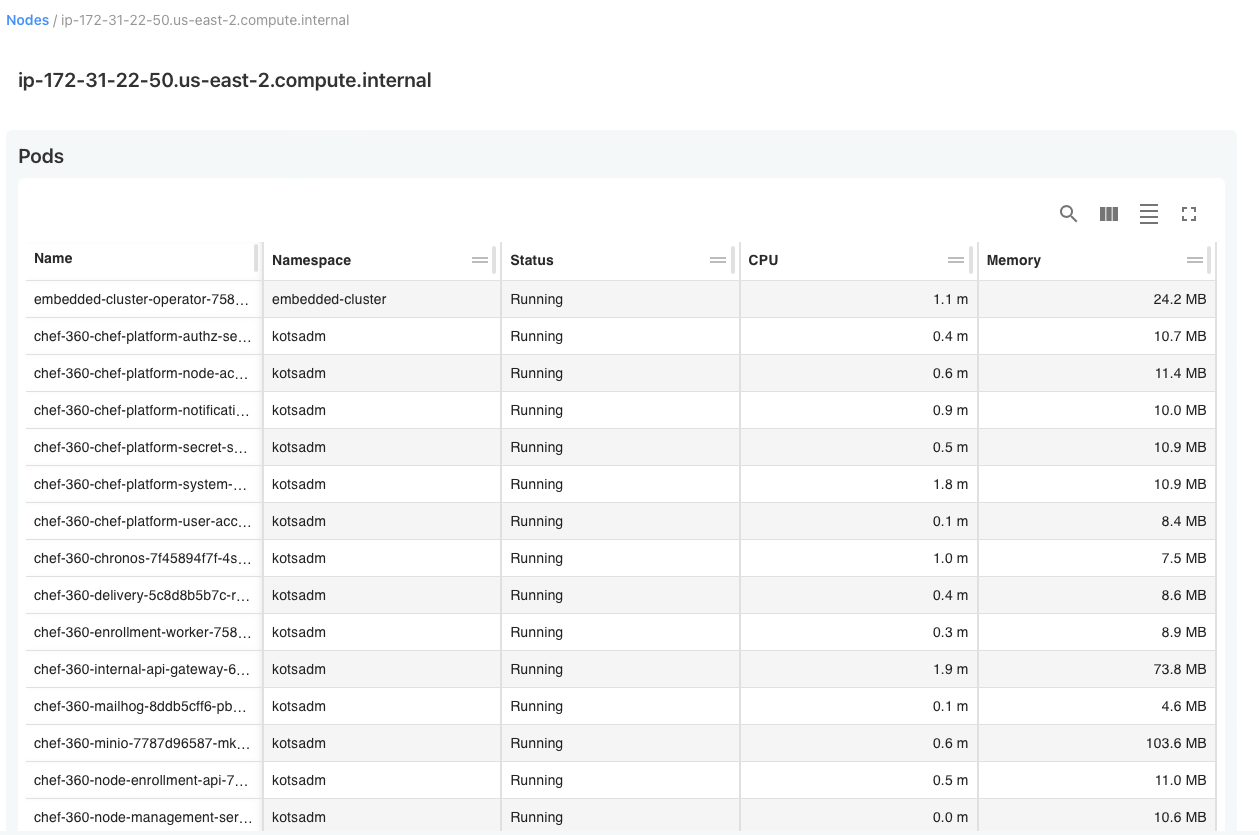
View node details
Selecting a node displays a screen showing all services running on that node, along with its namespace, status, and current CPU and memory utilization. This screen doesn’t replace the need for external monitoring but is useful in the configuration, scaling, and diagnosis of a cluster.
Add nodes
You can add nodes and create a multi-node cluster. When adding nodes, select one or more roles for that node, depending on which roles are defined in the embedded cluster config. The Admin Console provides the join command to join nodes to the cluster.
To add nodes to a cluster:
In the Admin Console, select Cluster Management at the top. When initially installing the application, this page automatically appears after logging into the Admin Console.
Click Add node.
In the Add a Node dialog, select one or more roles for this node.
Copy the provided join command. For example:
sudo ./APP_SLUG join 10.128.0.43:30000 bM8DO3MNvkouz9TFK3TcFanI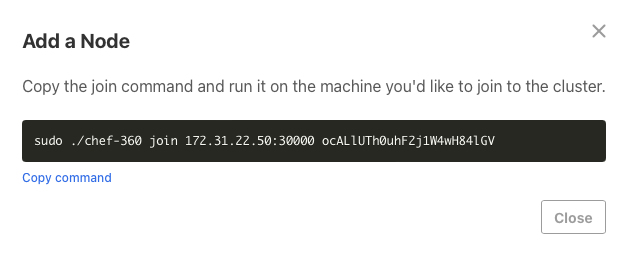
SSH into the machine that you want to join to the cluster. Ensure that the embedded cluster binary is available on that node. For more information on downloading the embedded cluster binary, see the install documentation.
Warning
You must join nodes with the same installer that you used for the first node. If you use a different installer from a different release of your application, the cluster won’t be stable.Run the copied join command using the embedded cluster binary.
Check the Cluster Management page in the Admin Console to see the node appear and wait for the status to change to Ready.
Repeat the process for all the nodes you want to add.